| Table of Contents | ||||
|---|---|---|---|---|
|
| Info |
|---|
To create a RIMP, teachers will utilize a Fillable Document Form (FDF) that is embedded directly into Infinite Campus.
|
| Tip |
|---|
Many teachers choose to default their login screen to the Campus Instruction module. In order to add a flag to a student, you must be in the Campus Tools module. Instructions for switching between these modules can be found here. |
Create a new RIMP
Path: Index > Student Information > General > Forms > New
Browse to the path above
If you have not already selected a student, you may be prompted to search for a student at this point.
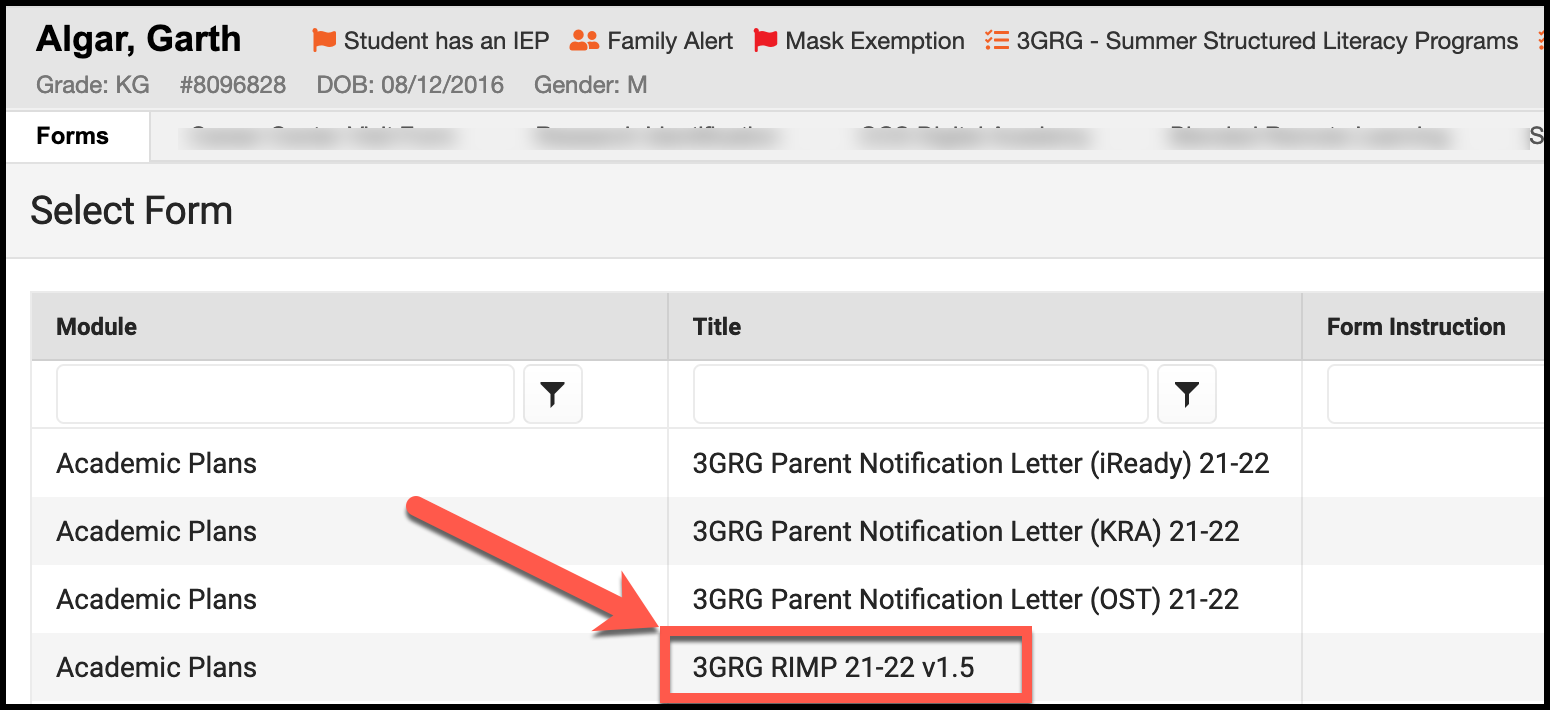
Once you have selected the student, click the Forms tab and choose

Choose 3GRG RIMP 21-22 v1.5 from the Select Form list

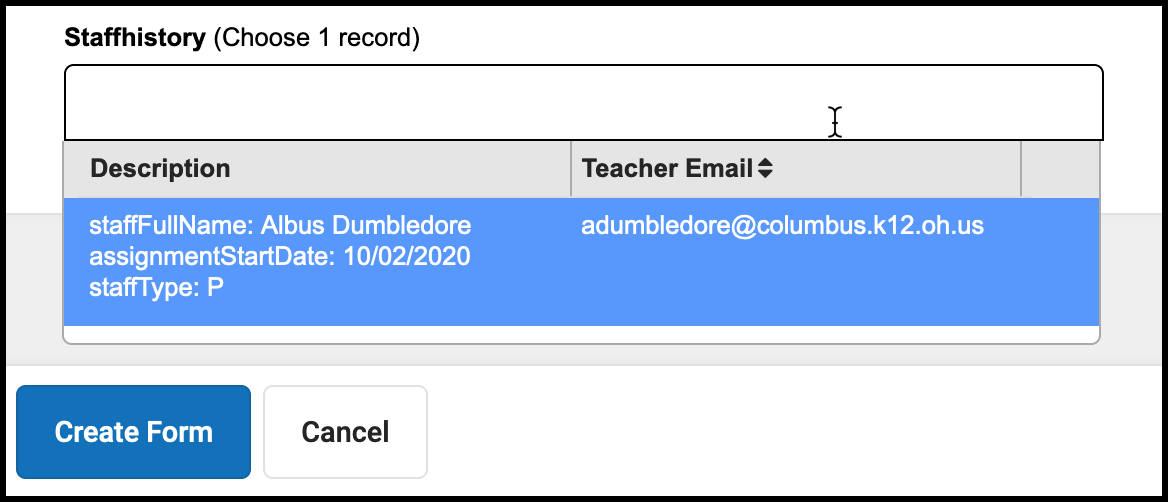
Upon form creation, you will be asked to select your name/email from the list of the student’s teachers. These will populate in the form.
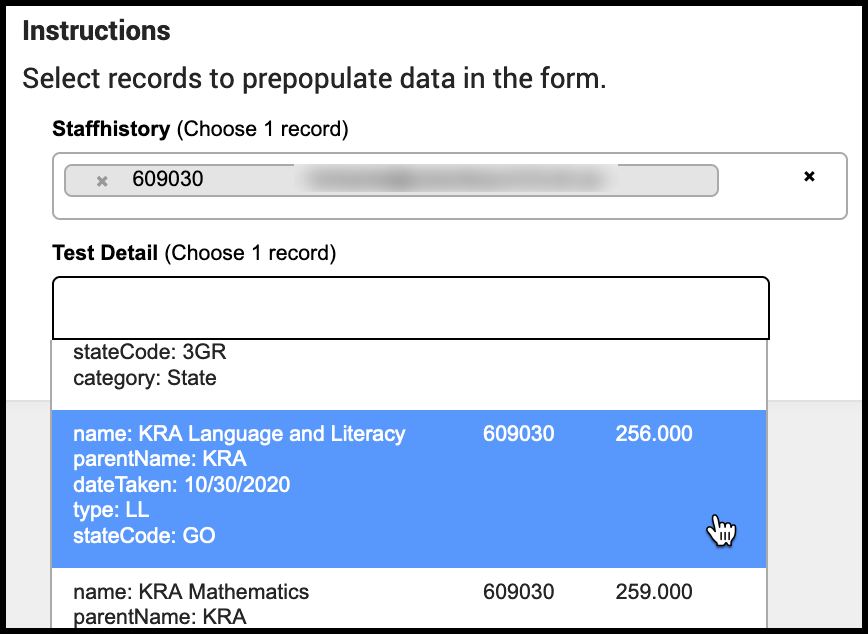
If the assessment has been loaded into Infinite Campus, you can pre-populate the score.
NOTE: The drop list for assessments contains ALL assessments the student has taken, across ALL school years. This list can get rather lengthy. You can always leave this blank and type the score in manually on the form if you have a list of students/scores from the vendor to work from. Some find this more efficient.
After making your selection, click Create Form at the bottom of the screen
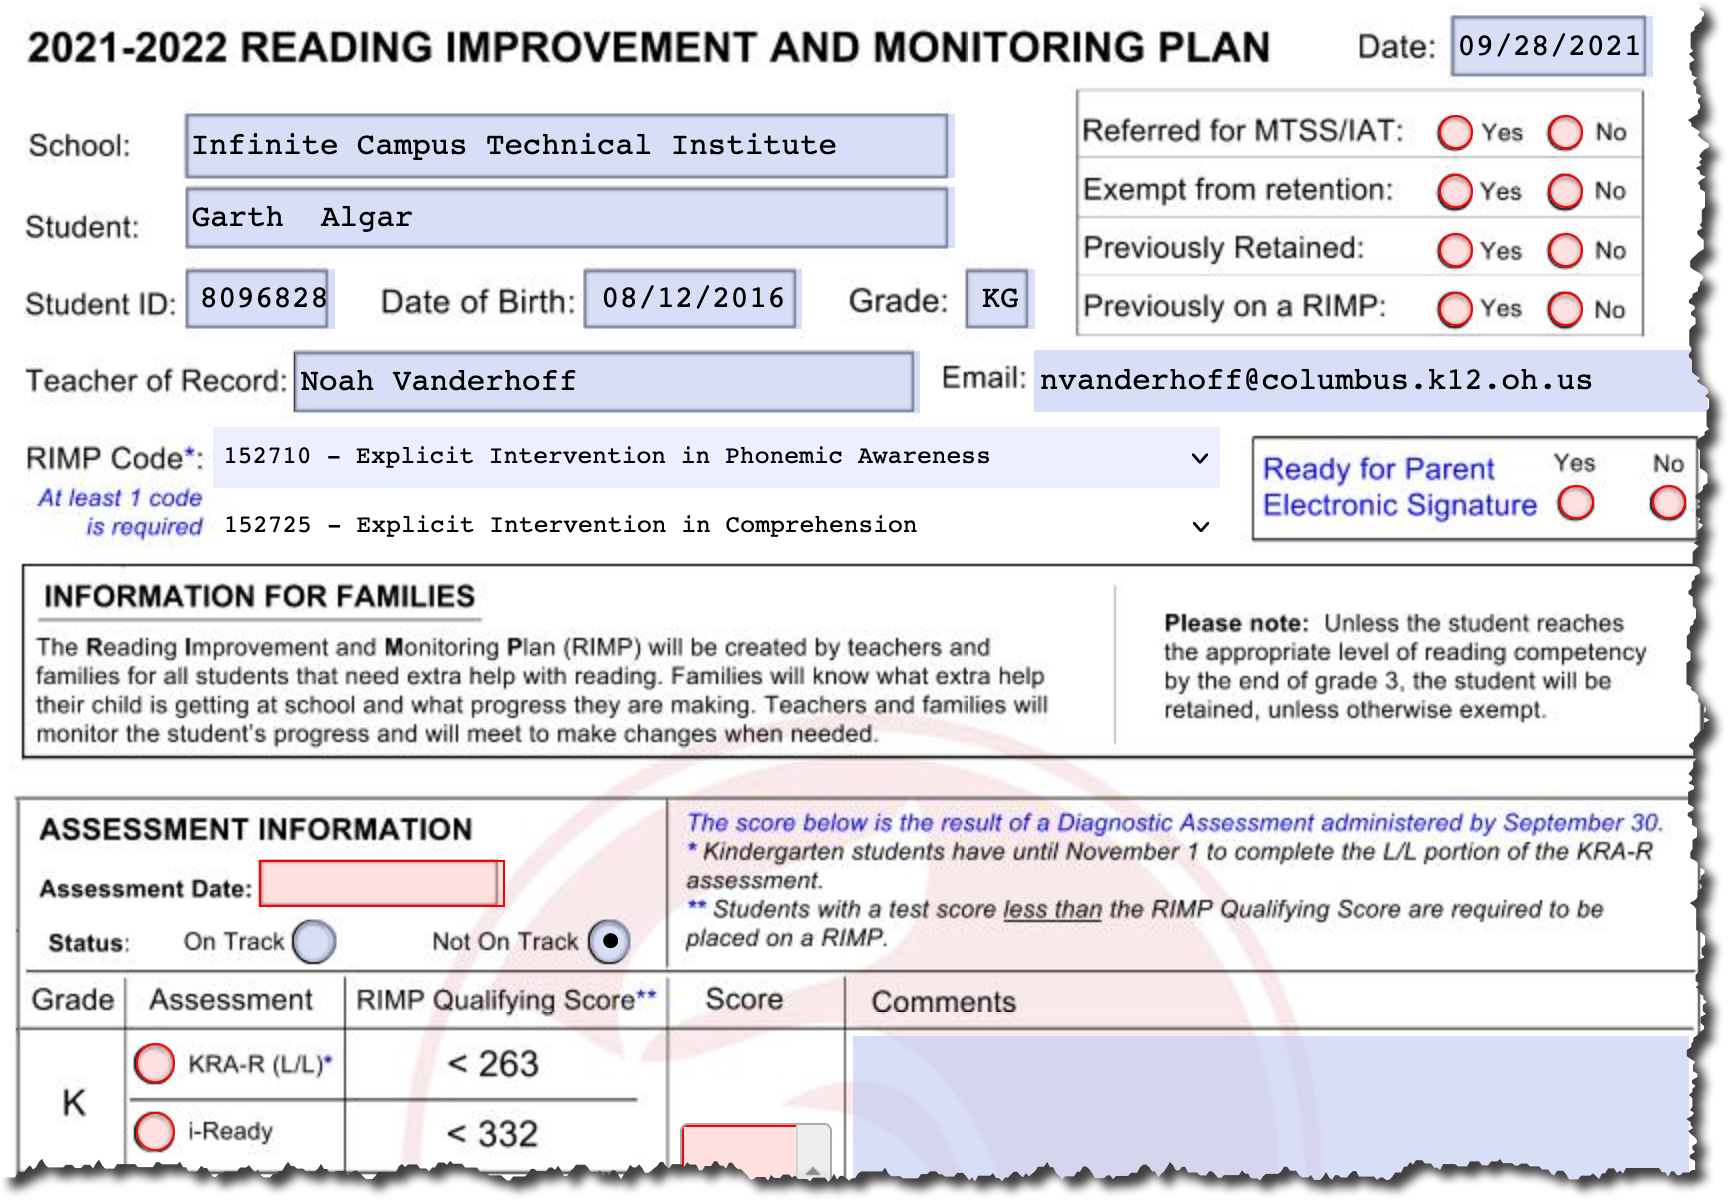
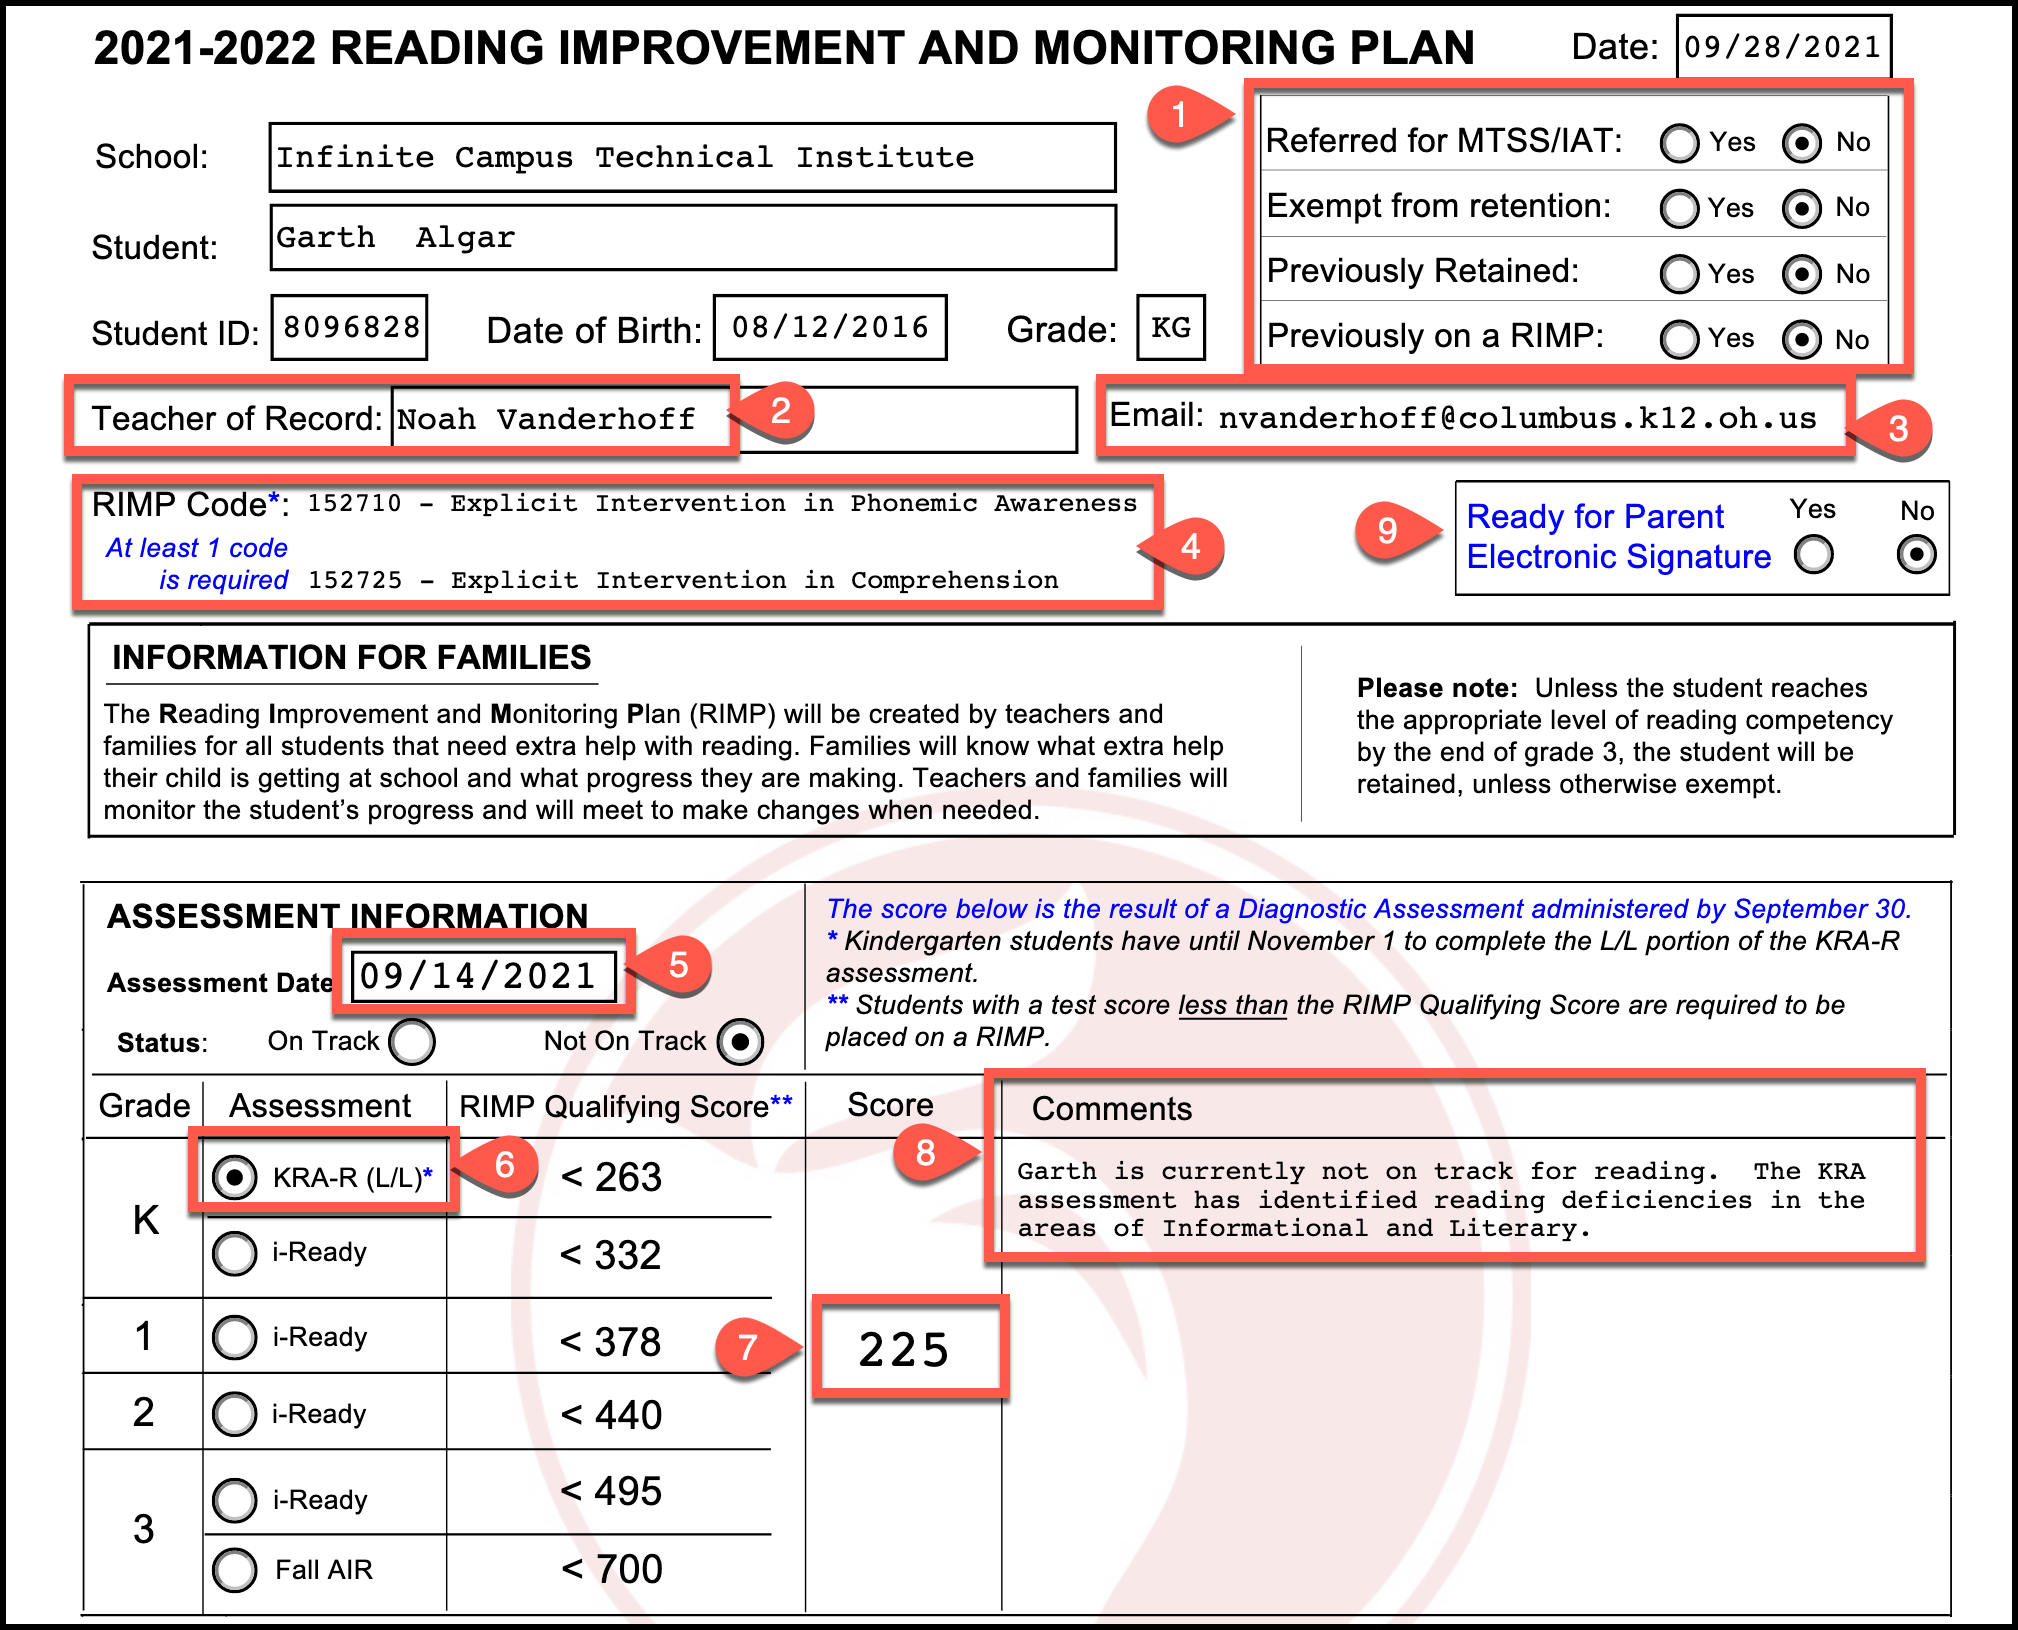
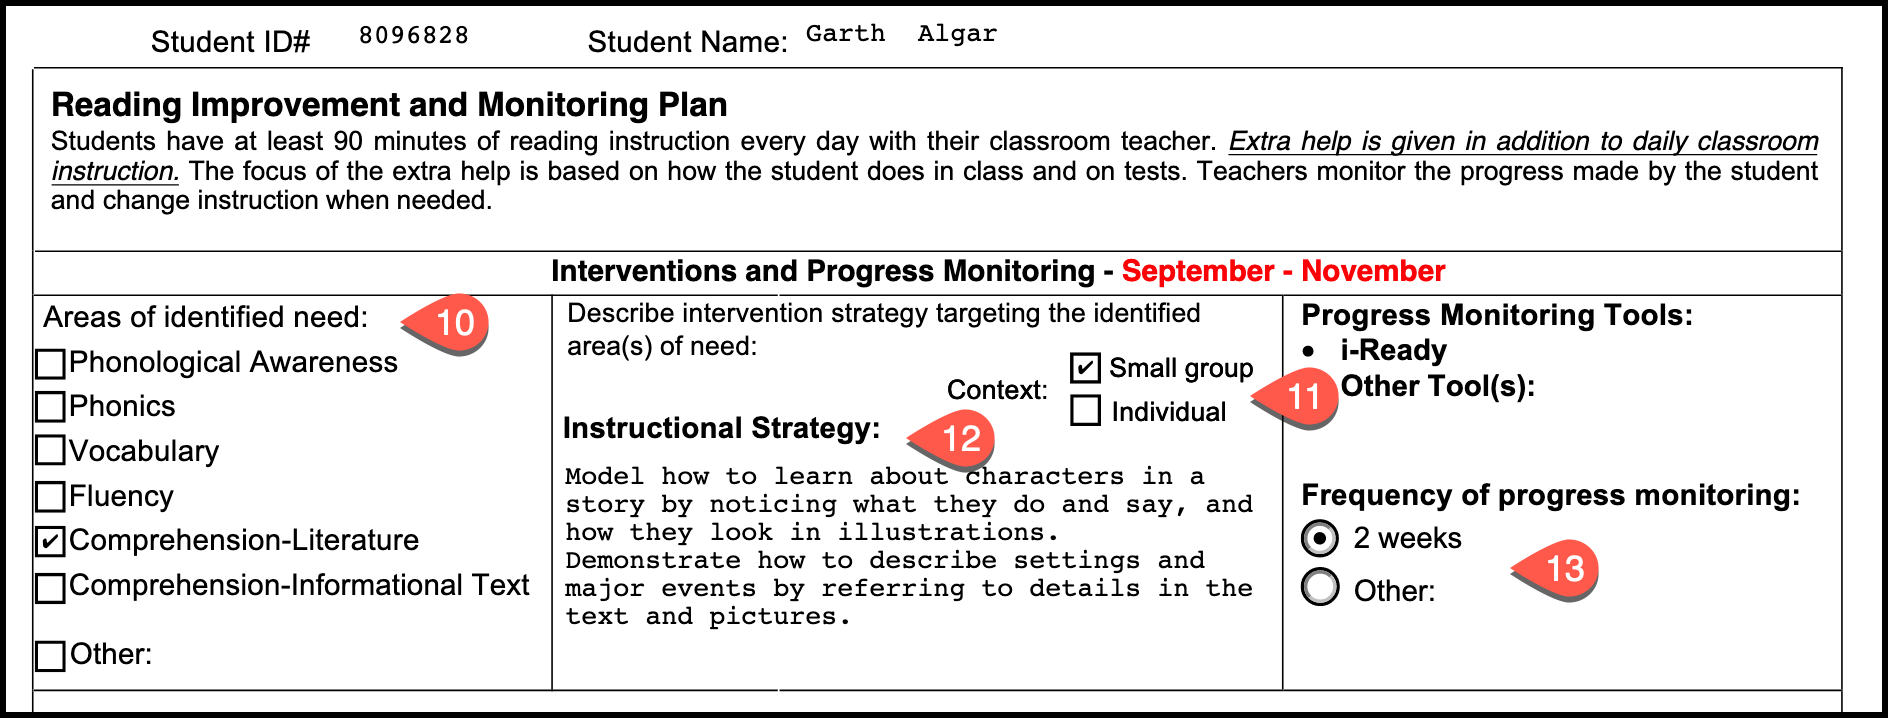
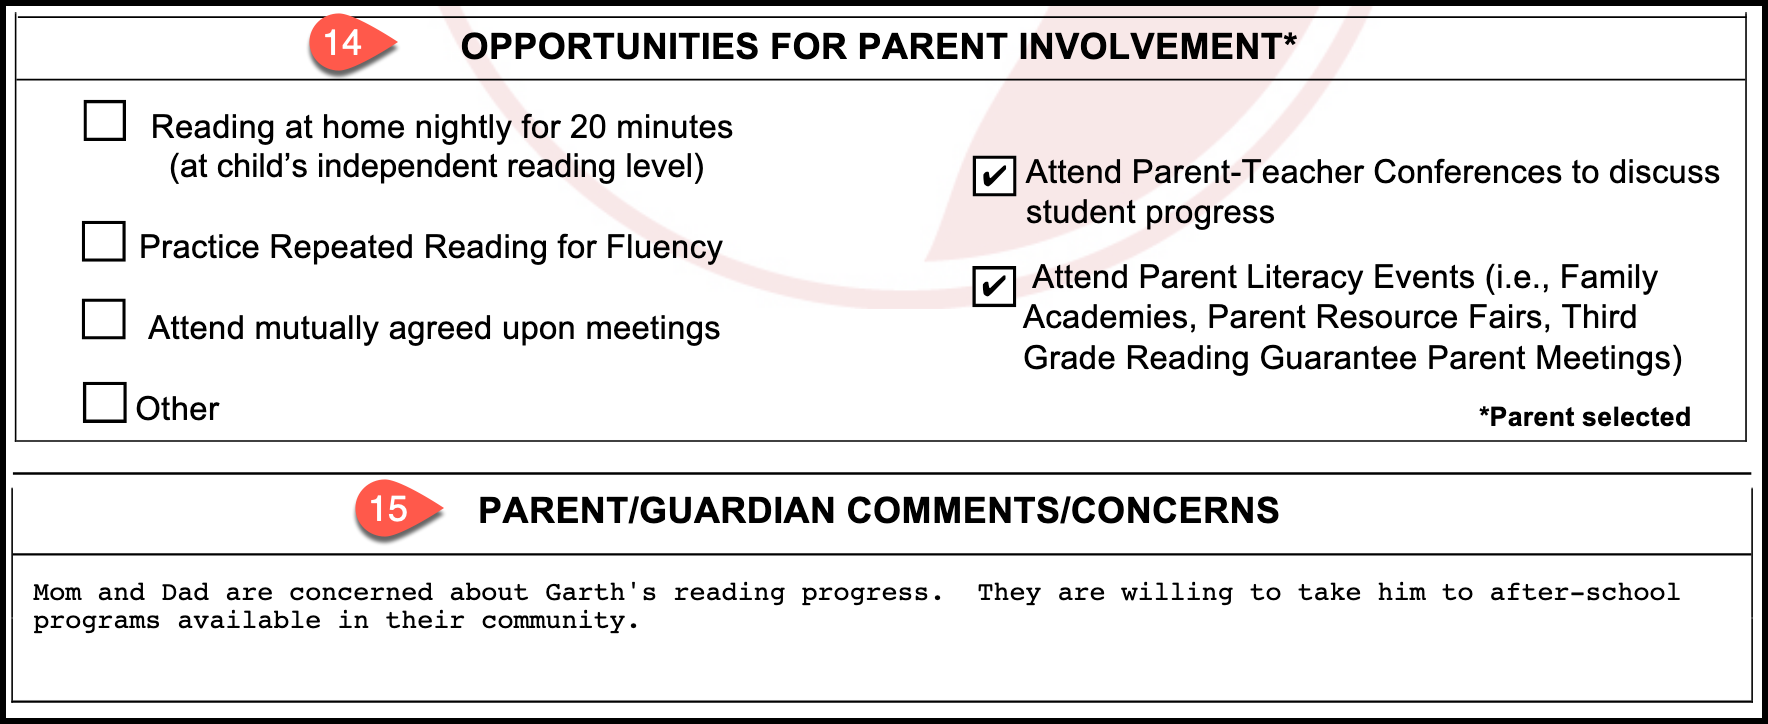
Complete the form by typing in the blue boxes.
| Note |
|---|
If any pre-populated information is incorrect, you can overwrite by deleting the data and adding a new value. |
| Warning |
|---|
Required fields are noted in red. The form will not save unless these fields are filled out. This includes at least one intervention (RIMP Code). |
PLEASE NOTE: The Ohio Department of Education has created all new RIMP codes that now appear in the drop lists.
| Tip |
|---|
Ready For Parent Electronic Signature
|
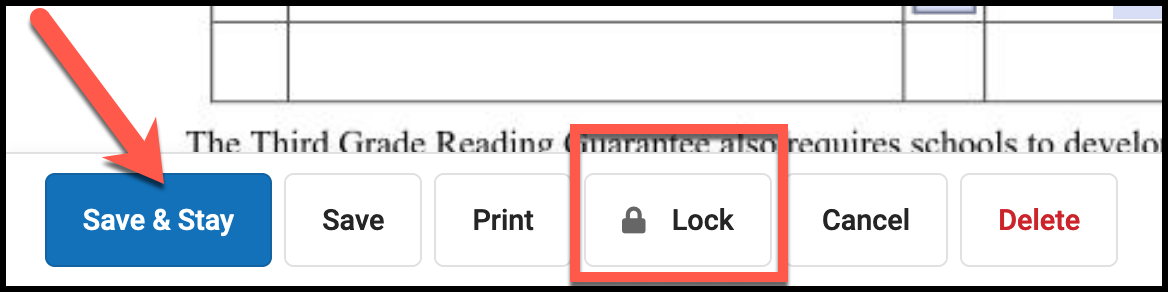
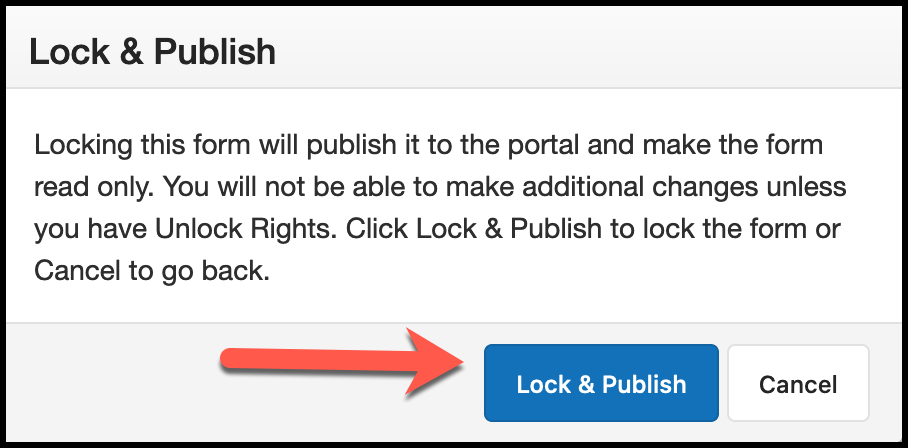
When you are ready to save your changes, click on Save & Stay button, then click on the Lock button to allow the form to be removed from “Draft” status and be seen in the portal.
Sample RIMP & Resources
Editing an existing RIMP
Path: Index > Student Information > General > Forms
Browse to the path above
If you have not already selected a student, you may be prompted to search for a student at this point.
Once you have selected the student, click the Forms tab and choose the form you wish to edit
If the form is locked, click the Unlock button at the bottom to open edit mode

page break
Once you have finished making updates, click on Save & Stay button, then click on the Lock button to allow the form to be removed from “Draft” status and be seen in the portal.
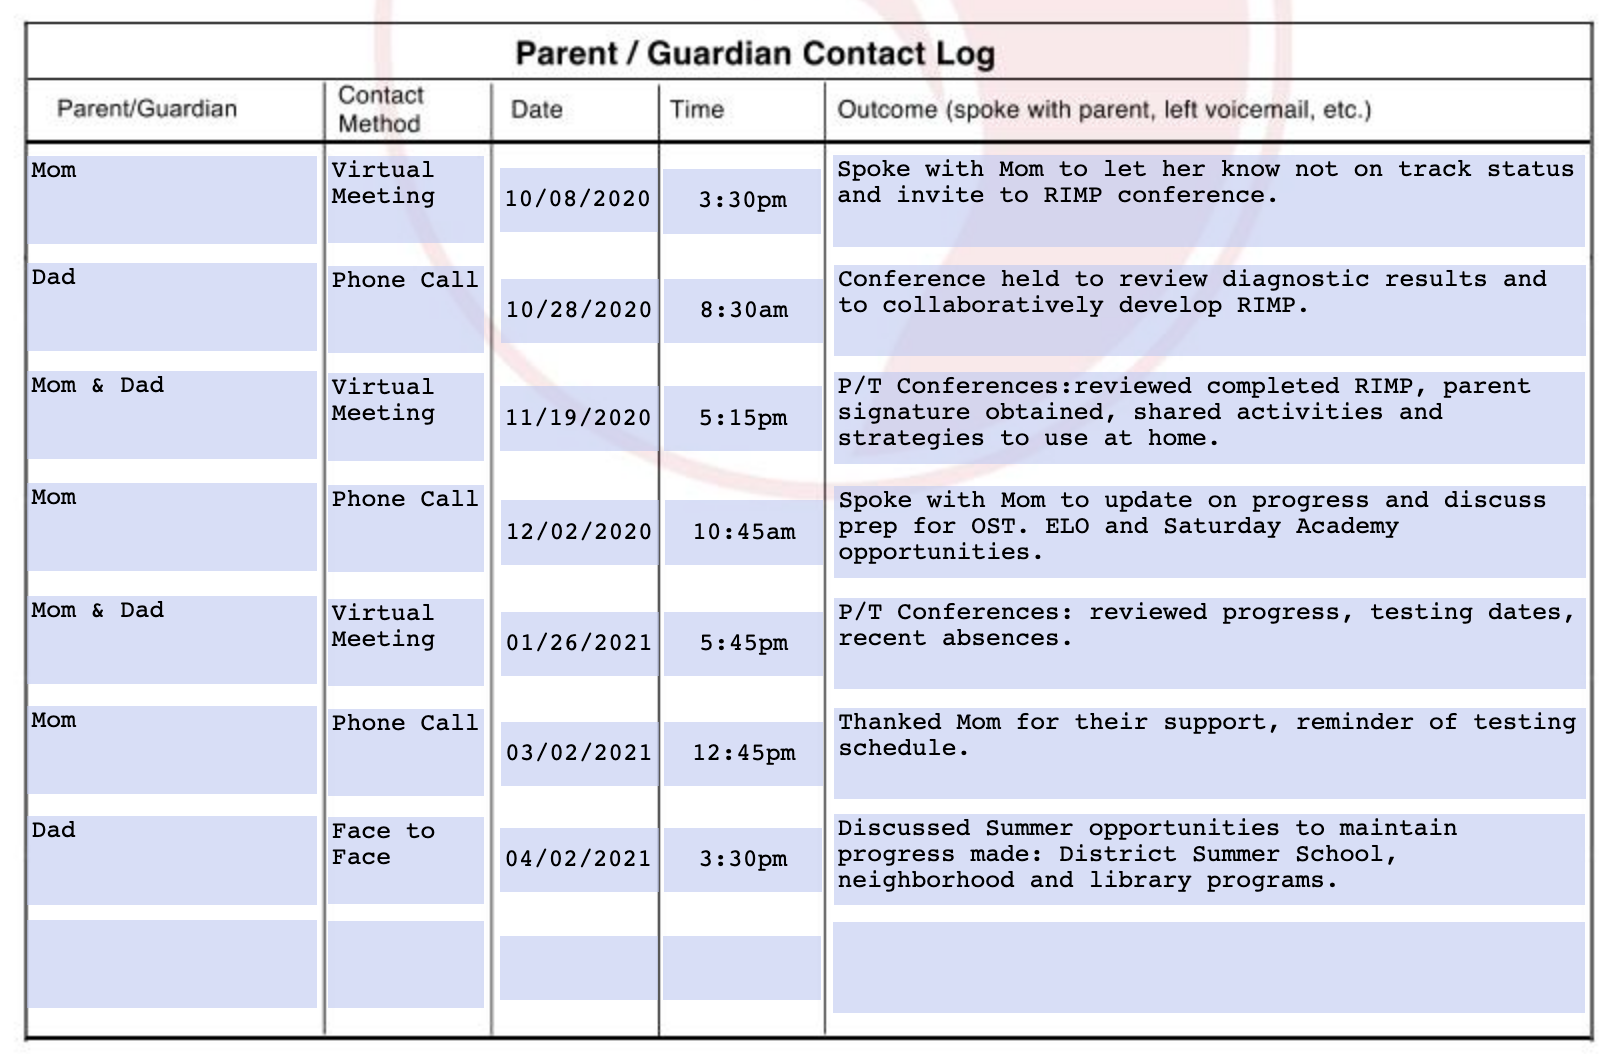
Logging Parent Contact
Contact with parents can be added directly to the RIMP itself (on the last page) for each student. Make sure to unlock, save, then re-lock the form when adding these entries.
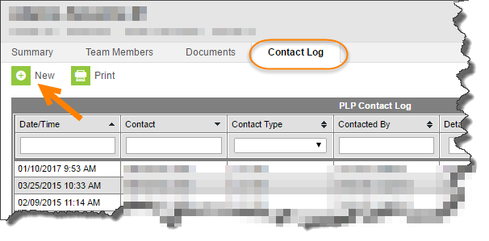
Should you run out of space on the form, you may still log contact in the PLP contact log
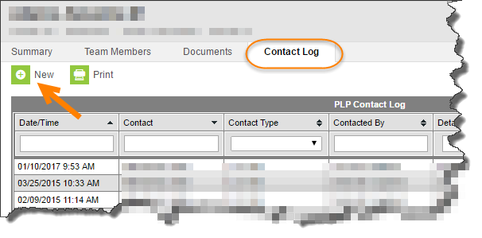
Path: Index > Student Information > PLP > General > Contact Log Tab
To log contact with parents regarding the student's plan, open the Contact Log tab, then click New
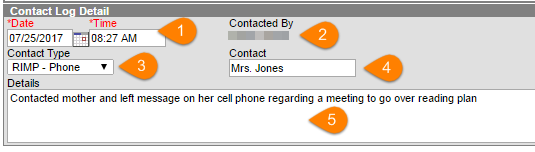
In the contact log detail, enter information as shown
Date and time will automatically populate with the current date and time, but these can be overwritten as needed
Contacted by will automatically populate with the person entering the contact log information (teacher)
Choose the contact type from the list - be sure to choose a type starting with "RIMP" to indicate that this contact is regarding a student's reading plan
Enter the name of the person you contacted
Enter the details of the contact, including the outcome of the conversation
When you are finished, click Save